Deploying a tRPC Backend to Bunny Edge Scripting
How you can deploy your tRPC project to Bunny Edge Scripting platform - a great European alternative to Cloudflare Workers etc.
Prerequisites
- a bunny.net* account
- a GitHub repository (Bunny currently natively only integrates with GitHub for automatic deployments)**
*this is an affiliate link that will give me some cloud credits to use with my open source Mapvoyage project. You can also see a completed implementation in the repository.
**You can also deploy using a single POST request. However you will have to write the CI integration for that yourself.
Adding the fetchRequestHandler
First install the Bunny SDK with npm. Then define a new entrypoint using tRPC's fetchRequestHandler, if you're currently using createHTTPServer for development, you can simply move that into a separate file and run that instead during development, see dev.ts in mapvoyage.
import * as BunnySDK from "@bunny.net/edgescript-sdk";
import { fetchRequestHandler } from "@trpc/server/adapters/fetch";
import { appRouter } from "./router.js";

BunnySDK.net.http.serve((req) => {
  return fetchRequestHandler({
    endpoint: "/",
    req,
    router: appRouter,
    createContext: () => ({}),
  });
});
Adapted from mapvoyage: index.ts
Bundling your code
Bunny expects your script to be a single file, so if you aren't bundling your server code yet you will have to. Luckily it is quite easy with tsup which uses esbuild under the hood. Install tsup with npm install -D tsup, by default it will not include dependencies in the bundle, which is necessary for Bunny. We can configure tsup to include them with the following configuration file:
import { defineConfig } from "tsup";

export default defineConfig({
  entry: ["index.ts"],
  format: ["cjs"],
  target: "node16",
  minify: true,
  bundle: true,
  external: [],
  noExternal: [/.*/],
  plugins: [],
});
tsup.config.ts
We define the entryfile and some output settings and crucially include dependencies using the external and noExternal settings
Setting up deployments
Now we are ready to set up deployments. Add a script from the scripting tab in the Bunny dashboard and choose GitHub.
Choose existing repository, otherwise it will create a new one on GitHub:
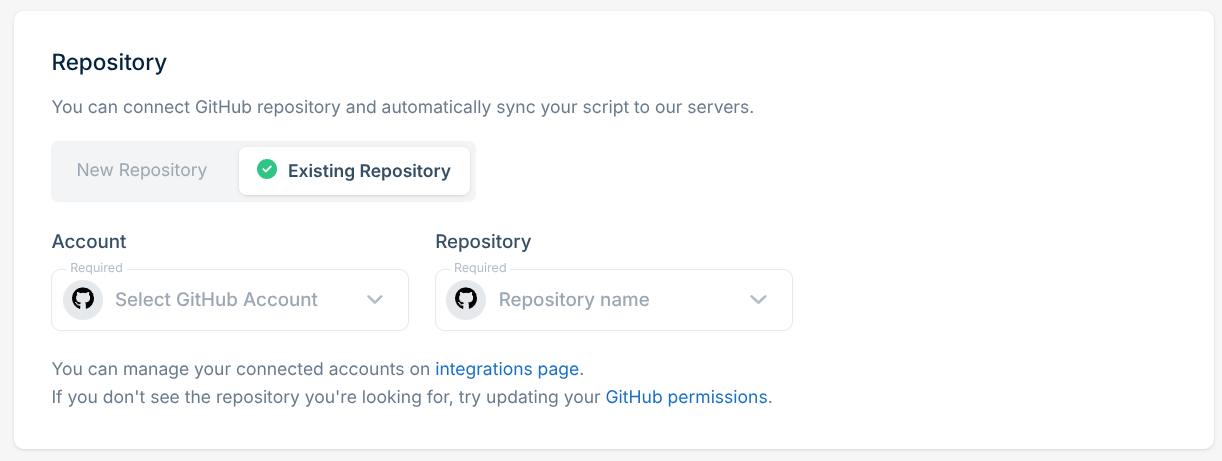
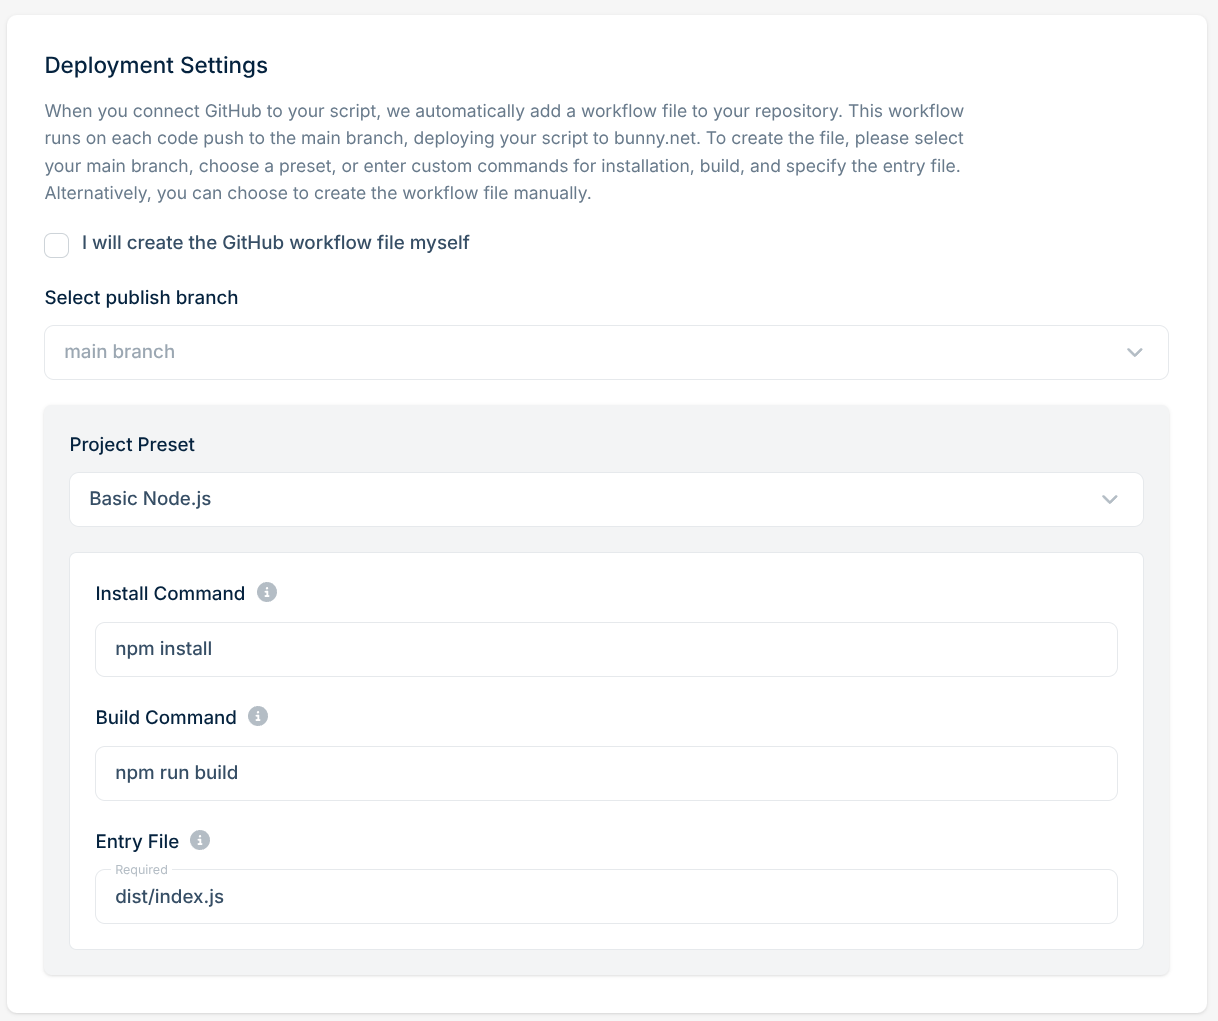
Then just select "Basic Node.js" in the deployment settings and leave the commands as they are, this will preconfigure the deployment token in GitHub, but we will change the workflow manually later. Then click add script.
The GitHub workflow
The GitHub workflow Bunny creates for you seems a bit off, edit it using the following workflow instead:
name: Deploy Bunny Scripting Script

on:
  push:
    branches:
      - main

permissions:
  id-token: write
  contents: read

jobs:
  update-script:
    runs-on: ubuntu-latest

    steps:
      - uses: actions/checkout@v3

      - uses: actions/setup-node@v3
        with:
          node-version: '22'

      - name: Install
        run: "npm i"

      - name: Build
        run: "npm run bundle"

      - name: Publish the script to Bunny
        uses: "BunnyWay/actions/deploy-script@main"
        with:
          script_id: <your-script-id>
          file: "server/dist/index.cjs"
Adapted from mapvoyage: .github/workflows/release-on-bunny.yml
Of note:
- Remember to use your own
script_idin the last step, it should be preconfigured in the existing workflow - If you changed your entrypoint or other tsup settings, you may need to update the
fileoption to your actual bundled file
With that you should be set. When you commit the change, your script should be deployed and work. Don't forget to set any appropriate environment variables and secrets your app needs in the Bunny Dashboard.
Complete Implementation
Refer to the mapvoyage repository for a complete implementation and all examples for this blog post: