Standardised & Automatic server deployments with Cloud-init
Automatically perform all the standard steps you do on new servers in under 50 lines of yaml
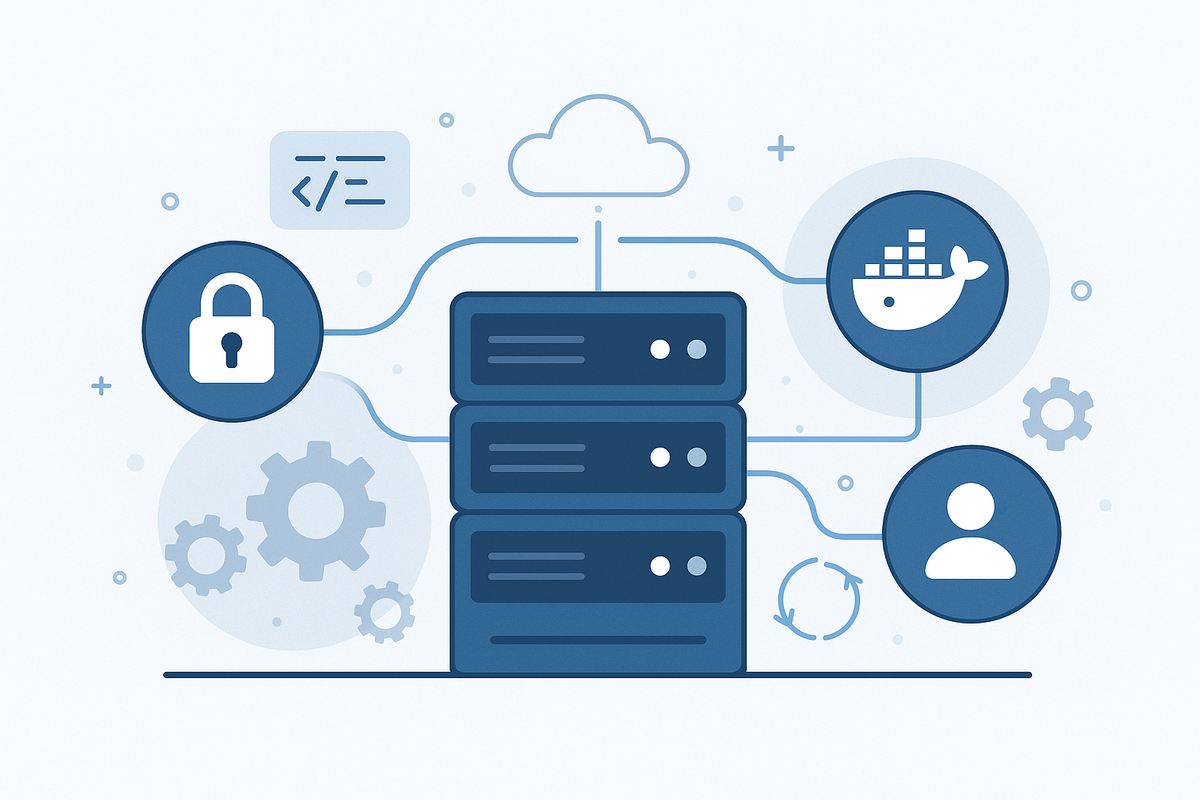
Experimenting with a new side project and dreading the thought of setting up Docker, SSH, ufw, etc. once more I became intrigued by the cloudinit field in the server creation form.
Turns out there was an easily declarative way of pre-configuring my server in a standardised way – and with just 48 lines of yaml, I can have my server setup with an admin user, a sensible ssh config, fail2ban, unattended-upgrades and Docker.
This post servers as a quick introduction to the common tasks you could perform with it and as a pointer to further useful documentation.
What is cloud-init?
Cloud-init is a nifty tool that can be found on most Linux distributions as well as a variety of cloud providers. You can declare a variety of initial settings, users as well as a sequence of commands to run. When you upload it to your cloud provider, these will be automatically run when you create your server. They can be as complex or simple as you want them to.
The Important Parts
I will introduce the most important settings by going through an example step-by-step. Please use the provided links to explore the reference documentation if you're interested in learning more.
By the nature of it, anything could also simply be done in the runcmd module, but the shorthands are (mostly) nicer to write and better to understand. You can of course always just fallback to scripting as you will also see some examples of here.
Managing users
#cloud-config
users:
  - name: main
    groups: [sudo]
    shell: '/bin/bash'
    lock_passwd: false
    ssh_authorized_keys:
      - <ssh-key-here>

chpasswd:
  expire: true
  users:
    - name: main
      type: text
      password: 'changeme'
Every cloud-config must start with the appropriate header. With the users module, you can setup different users on their system, along with their group and other important metadata. The chpasswd module lets you set up an initial password for any users.
In this example, I am creating a user main, adding it to the sudo group, unlocking the password (so it can be changed, by default it is locked), providing an ssh-key and setting an initial password. The changeme password will be immediately expired and upon first login you will be prompted to change it to an actually secure password. However, you could also provide an already hashed password to use (this can be generated locally using mkpasswd).
Packages
package_update: true
package_upgrade: true

packages:
  - fail2ban
  - unattended-upgrades
  - git
  - ca-certificates
  - curl
The packages modules allow you to preconfigure the system with any packages you need, as well as updating and upgrading them. Note: I am not installing docker here as it requires it's own repository and I found that easier to configure via commands.
Runcmd
runcmd:
  # -- SSH Hardening --
  # Disallow root login via SSH.
  - 'sed -i "s/^#\?PermitRootLogin.*/PermitRootLogin no/" /etc/ssh/sshd_config'
  - 'sed -i "s/^#\?PasswordAuthentication.*/PasswordAuthentication no/" /etc/ssh/sshd_config'
  # Restart the SSH service to apply the changes.
  - 'systemctl restart sshd'
  # Enable and start aux services
  - 'systemctl enable fail2ban'
  - 'systemctl start fail2ban'
  - 'systemctl enable unattended-upgrades'
  - 'systemctl start unattended-upgrades'

  # -- Docker --
  # Install Docker prerequisites
  - 'install -m 0755 -d /etc/apt/keyrings'
  - 'curl -fsSL https://download.docker.com/linux/ubuntu/gpg -o /etc/apt/keyrings/docker.asc'
  - 'chmod a+r /etc/apt/keyrings/docker.asc'
  - 'echo "deb [arch=$(dpkg --print-architecture) signed-by=/etc/apt/keyrings/docker.asc] https://download.docker.com/linux/ubuntu $(. /etc/os-release && echo "${UBUNTU_CODENAME:-$VERSION_CODENAME}") stable" | sudo tee /etc/apt/sources.list.d/docker.list > /dev/null'
  - 'apt-get update'
  - 'apt-get install -y docker-ce docker-ce-cli containerd.io docker-buildx-plugin docker-compose-plugin'
Runcmd simply does what it says. Define a sequence of commands that will be run as root. In this example, I:
- Change the
sshd_configwith commonly used settings for ssh-key auth - Enable fail2ban and unattended-upgrades
- Setup the official docker repositories and install it from there (note: the prerequisite packages for adding the repository were already added through the packages step beforehand)
Of course, this can be as simple or complex as you dream it to be.
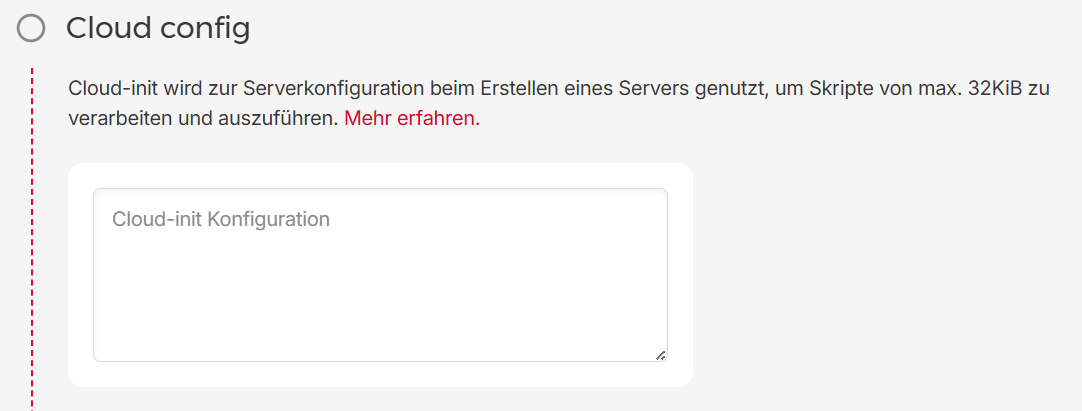
Validating the config
Once you have written a configuration, you may wonder how you can validate it before deploying it. Assuming you are running linux, you can simply run cloud-init schema -c path-to-schema.yaml --annotate this will lint your schema and annotate any errors you may have.
Additional Resources
Below are some resources I have found helpful in building out my small configuration:
The reference documentation for all available options
A great example showing how all the major options are used
I hope this blog post will help you save time the next time you are deploying a new VPS. If you still need a host to deploy it with, why not use my Hetzner referral link and get 20€ of cloud credits.